Translate

Thursday, May 10, 2018

Wamelo

Wamelo - Script
Wamelo a work that is purely a result of handwriting and writing by using a liquid ink pen, has a natural characteristic. this is perfect for invitations, signatures, blogs, social media, business cards, product brands.
Wamelo a work that is purely handwritten, has its own characteristics with the style of monoline It is perfect for invitations, signatures, blogs, social media, business cards, product brands
Wamelo - ScriptWamelo - ScriptWamelo - ScriptWamelo - Script - 5Wamelo - Script - 6Wamelo - Script - 7Wamelo - Script - 8Wamelo - Script - 9Wamelo - Script - 10

Wednesday, May 9, 2018

How to Design Animated Instagram Stories that Catch the Eye


How to Design Animated Instagram Stories that Catch the Eye
Instagram used to be the place where photographers went to show off their work, but today it's evolved into much more than that. In recent months, the Snapchat-esque Stories feature has taken over the scene and created a whole other type of feed for followers. I'll admit it myself: I look over the Stories a lot more than I do my regular feed.
But this does create a problem. Not everyone has the skillset to create a compelling video. In fact, it may seem like the bar to entry is even higher, because some of these stories are professionally created. How do you get into the mix?
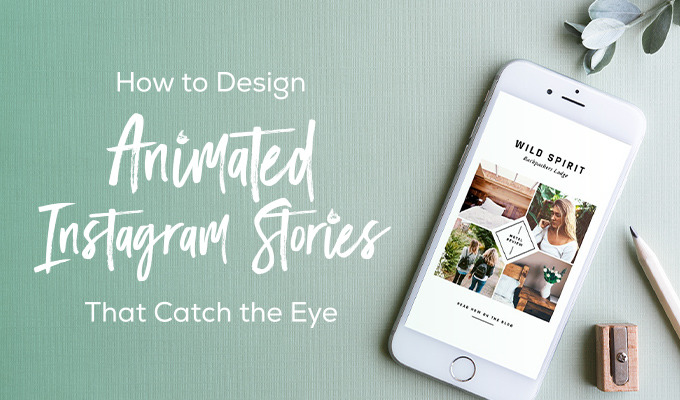
Easy: templates. And I'm going to walk you through the process.

It started with an idea

Instagram Story templates are out there. Don't believe me? Well, a quick search will prove me right, as there are over 150 different templates at Creative Market that make the Story process that much simpler. The idea behind most of them is fairly straightforward: take the photos that you have and animated them in a way that's compelling to the viewer. And most of them not only have sample videos, but also walkthroughs and instructions so you can do it on your own.
With that in mind, I picked up Animated Instagram Stories by Silver Stag, downloaded the ZIP file and opened it up. Inside were 30 PSD files, an instruction guide, sample videos, free stories and even hand drawn stuff. It was a virtual grab bag of goodies, so I dove right in.

Start with the downloads

As it turns out though, I wasn't completely done. After going through the instructions, I realized that I needed to download a few fonts to get rolling. They were all free, and I already had two of them, so it wasn't a big deal to install them on my Mac.
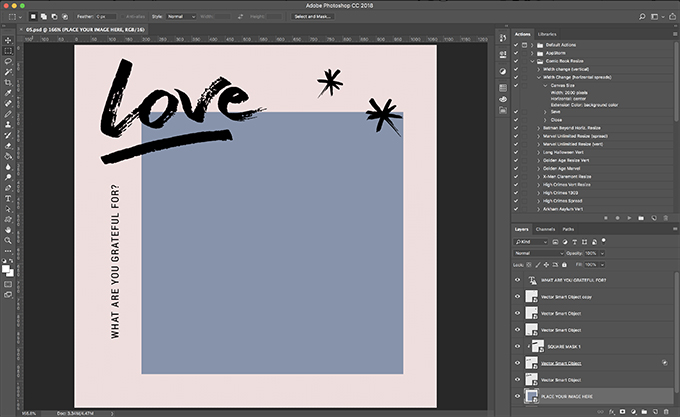
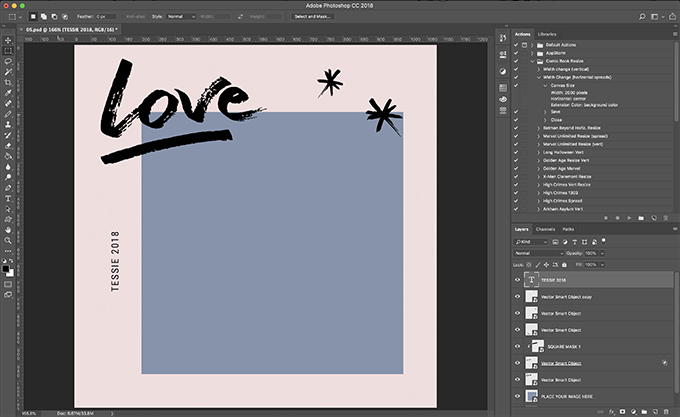
My idea was to do something fun with a photo of my dog, and 05.psd in the kit seemed to work out pretty well for that. So with that in mind, I opened it up and here's what I got:
Each layer in the file is clearly labeled, so it's a straightforward process if I want to modify anything. For example, the text on the left-hand side says "WHAT ARE YOU GRATEFUL FOR?" That's not necessarily my jam, but putting the name of my dog would certainly work. So I did that.
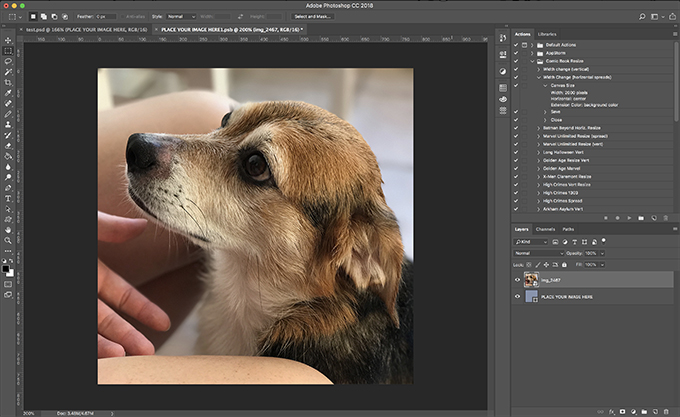
Every object in the file is either a Smart Object or text. And since I love me some Smart Objects, I know how they work. If you don't, the basic idea is that these objects can be changed or modified on their own, and then when they're updated, the overall graphic will change. The Smart Object for the main photo, in this case, was just a blue box. So I double-clicked on the Smart Object icon for that layer, opening up the Smart Object itself. I pasted and resized in the shot of my dog and ...
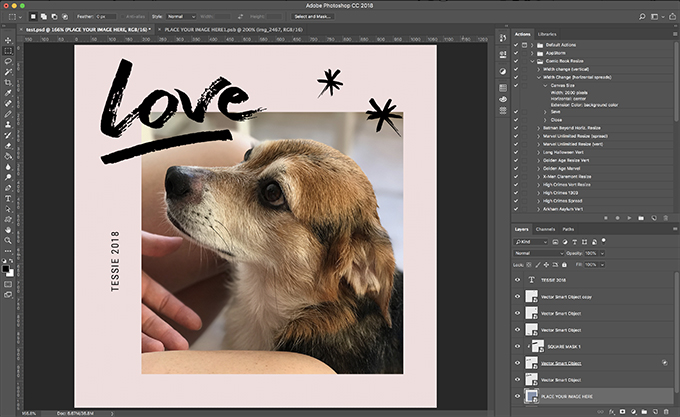
Just like that, I'm good. Here it is in the full photo:
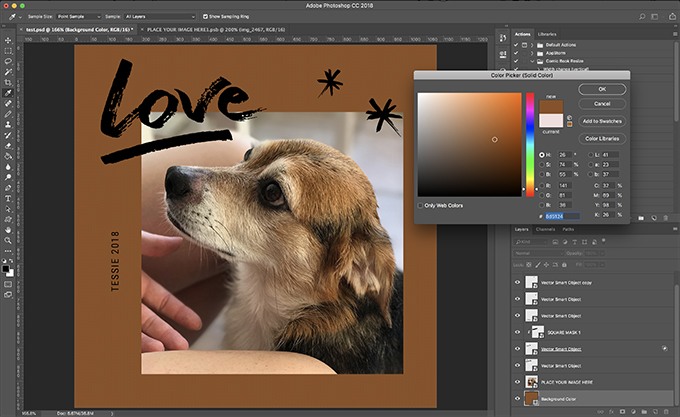
Now it's a cute shot as-is, but I wanted to do something else with the colors. It seemed like the background was off a bit, so again I went into the Smart Object for the background. All I had to do was pull a color from her fur with the eyedropper, and everything was good to go.
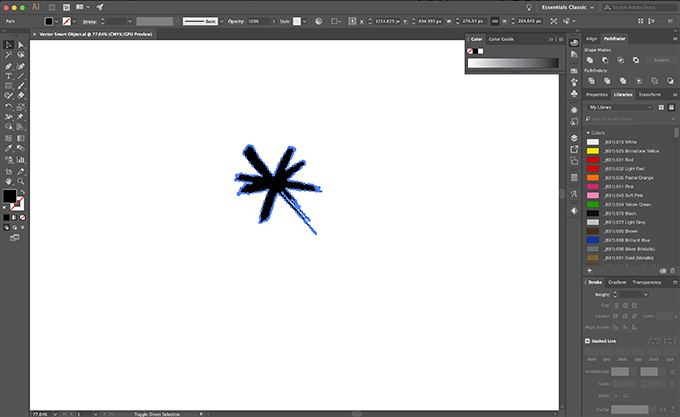
I was fairly satisfied at this point, but I did want to play around with a few ideas. Those asterisks in the corner were neat, but how would they look in white? Let's find out. I first opened up the Smart Object for one of the marks in Photoshop, and inside that was another Smart Object — this time, a vector-based one. Double-clicking on that allowed me to open it up in Adobe Illustrator.
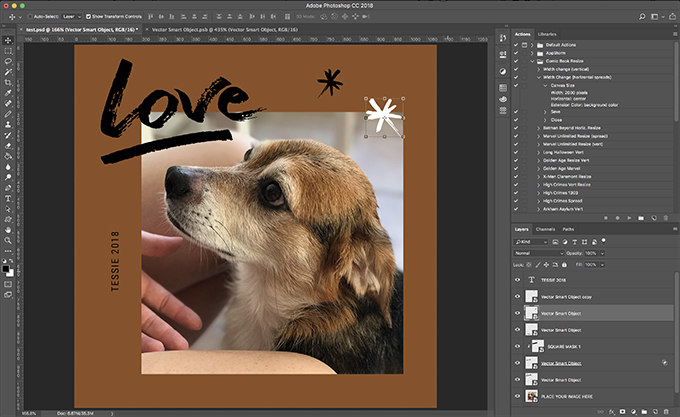
After changing the color to white, I saved the Illustrator file, then saved the Photoshop Smart Object. The results:
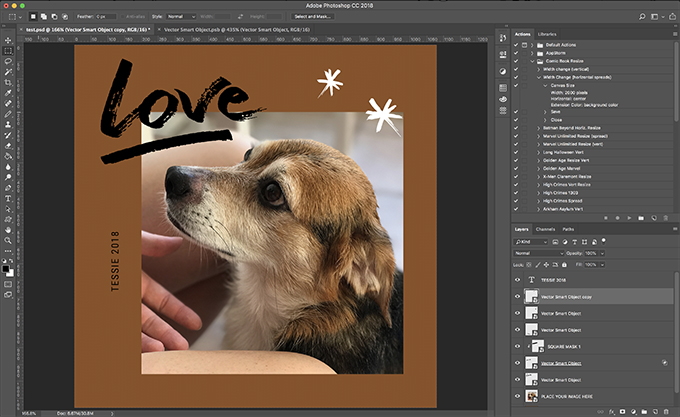
Well, I liked it, so I went ahead and did the same thing to the remaining asterisk.
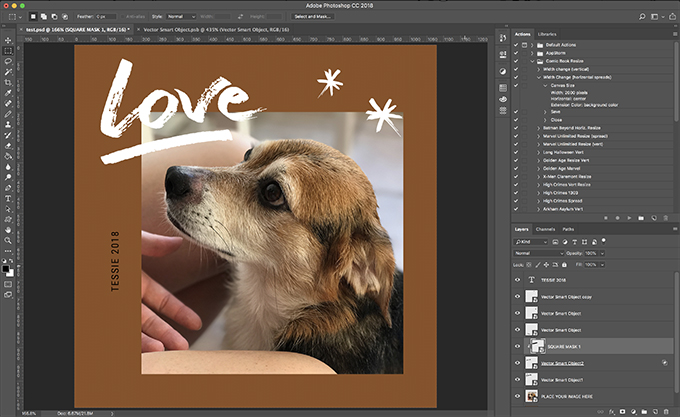
I did the same thing with the remaining Smart Objects, and to get the slash underneath "Love" the same color, I modified the "SQUARE MASK 1" block inside of Photoshop. Here's what I got:
And with that, my design was done. For now.

Making the magic happen

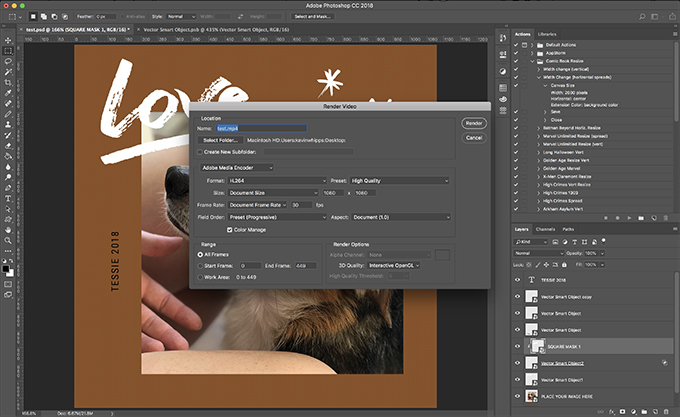
At this point, I had two options. If I wanted to post it up as-is, I could. All I had to do was export it as a JPG or PNG file and I was done. But I did want it to animate — that's the whole point, after all. The instructions doc told me the basics: Go to File > Export > Render Video, then save it as 1080x1080px in the highest quality. Cool, let's do that.
Now I had an mp4 file to work with, and I could even preview it on my Mac. To get it to my phone, I could either upload it to Photos, or send it via AirDrop. Once I did that, it was right on my phone and ready to go. All I had to do was post it via Instagram as a regular post, and I was done.
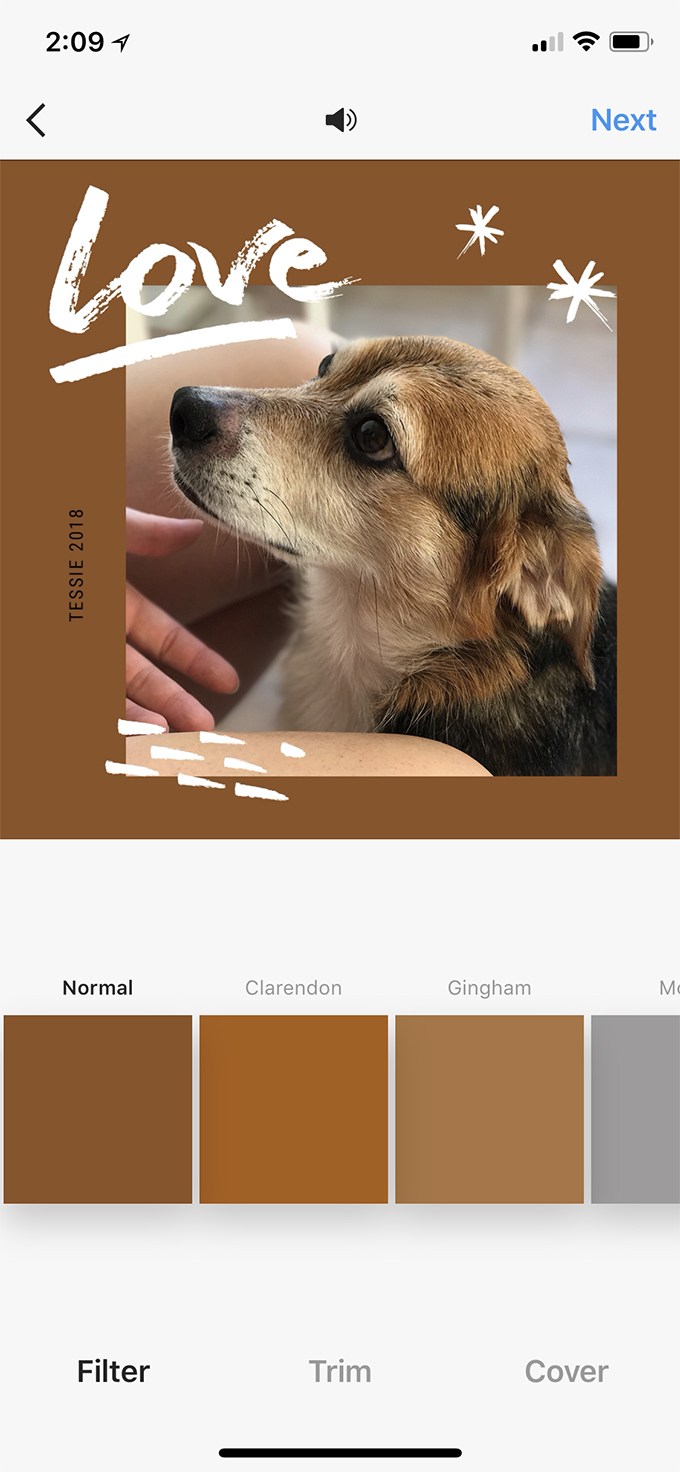
Or was I? I did want this as a story, after all. And since I picked a square-shaped design, I wasn't sure how that would work. Fortunately, Instagram is way smarter than me. I started the Story process, and just zoomed out on the animation. It filled in the background for me automatically, and just like that, I was good.
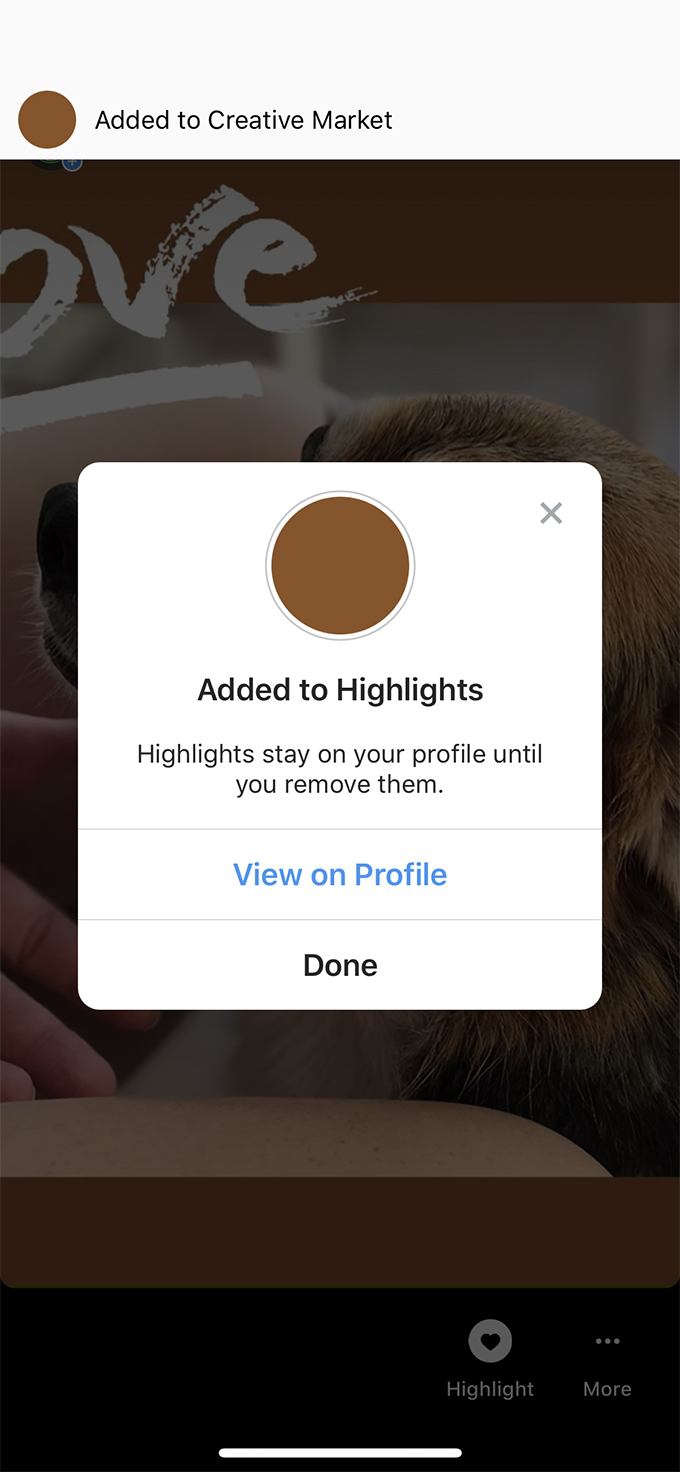
I saved it as one of the highlights on my profile as "Creative Market." If you want to check it out, I'm @Whippsindustries on Instagram, and it'll be on my bio page.

Final Thoughts

Well, I gotta say, that whole process was a ton easier than I initially expected. It took me less than 30 minutes to knock the whole thing out, and that was including the time it took for me to do screenshots for this post. Knowing that there are lots of other options out there for cool Story templates is also good info to have, and they're all pretty affordable, too.
If you've been putting off doing Instagram Stories for yourself or your business because it seems too difficult, don't. Now you have lots of choices to work with, and nothing is better than that.


Saturday, May 5, 2018

How To Get Started with InDesign: Templates, Tips & Tutorials

How To Get Started with InDesign: Templates, Tips & Tutorials

By on May 2, 2018 in How To
How To Get Started with InDesign: Templates, Tips & Tutorials
I started off my writing career in print, and over the years I've been the editor of multiple magazines. I even have a book on restoring Chevy trucks that's out on Amazon right now. And one constant over most of those years has been Adobe InDesign. It's the go-to tool for print designers the world over, and it's what I've always used to get the job done.
But, like many Adobe apps, InDesign can be intimidating for first-timers. There are a lot of weird things that don't look like Photoshop in there, and if you don't know much about print, it's tough to break into. So what do you do to get going with InDesign? Well it's not that bad if you do what I did, and that's to start off simple and move forward from there.

What is InDesign, anyway?

To answer that question, let's take a look at the Creative Cloud suite as a whole and break it down:
  • There's Photoshop, a program made for manipulating raster images in a number of ways.
  • Illustrator lets you work with vector graphics, tweaking and tuning the geometry of the designs however you like.
  • Premiere is for working with video, and is one of the main tools for video editors across the country.
  • So then InDesign is a tool that lets you put together parts of all three to create either physical or digital products that use a paginated layout.
I've used InDesign to build magazines, brochures, resumes, sponsor pitches, and a number of different designs before, and most of them have either been professionally printed or delivered in a high-quality PDF. I've even done a short ebook with InDesign, since you can create interactive epub and PDFs, too.
What it's not built for, however, is manipulating text and graphics. It is not a word processor. If you want to write your print publication, then either use InCopy — Adobe's writing app — or Microsoft Word. If you want to tweak your graphics, then go with Photoshop or Illustrator. Use the right tool for the job, basically.
Now that you've got that figured out, where's the next best place to get going?

Start with a template

When I first started out with InDesign, everything seemed so scary. I didn't quite understand the logistics of how the page laid out, where everything went, and how pagination worked at all. Know how I broke out of the slump? I bought a template. Then I broke it.
A template is, in essence, a completed document. Yes, it's filled with dummy text and content that you may not want. But by using that as your guide, you can figure out a lot of things quickly. Click on objects. Right click on them. See what happens. Slowly but surely, you'll figure out how the nuts and bolts of an InDesign doc (.indd) go together.
And if you need to find some templates, we've got a ton of them right here.
     

Check out some tutorials

Now there are many great places to pick up tips on using InDesign. Adobe has a ton of InDesign tutorials that range from the very basic to the more advanced. For example, there's the obvious one for newbies: Get started with InDesign, and when you're more experienced, check out Improve readability by adjusting letter spacing.
If you want to go the paid route, consider Lynda. My wife and I have an account there, and they have hours of courses dedicated to InDesign and its various uses. It's anywhere from $25/month on up, but you get lots of options there for not just InDesign, but lots of other design programs.

Pick up some tips and tricks

Of course, we've got a few tips and tricks of our own. In 20 Diagrams That Make Print Design Much Easier, there are a ton of great resources for putting together your next big print project. And since InDesign is all about print, this is a good place to start.
That article features handy diagrams like the InDesign Shortcuts summary below:
Remember how I suggested buying a template and breaking it to figure out how it works? In A Simple Guide to Edit a Brochure Template, you can do just that, but you get a little bit of guidance, too.
And along that same vein, Brilliant Ebook Templates to Design Your Next Bestseller gives you a lot of ebook templates to work with. Why ebooks? Because even though they're not technically a print product, InDesign can create ebooks, which gives you a ton of flexibility with layouts.

Wrap it up

I've used InDesign over the years, and even though many of us work in a mostly digital medium, knowing how to work in print is still a very handy skill. It lets you approach things from different angles that you might never have considered. They may say that print is dead, but as long as people are using InDesign, it never will be.