Meet Max from Lettering Daily
Max has been in the world of typography for almost a decade now. Not so long ago he realized that, thanks to the internet, no matter who you are or where you are from, you can make your creative dreams a reality. If you're looking to start your own creative adventure, you can open your own Creative Market shop.

"I believe that in this crazy world doing something that you love is crucial for happiness," Max said. "This is something that motivates me to get out of bed full of energy with a smile on my face."
For Max, creating digital assets for his Creative Market shop is just one of the avenues that allows him to do what he loves for a living.
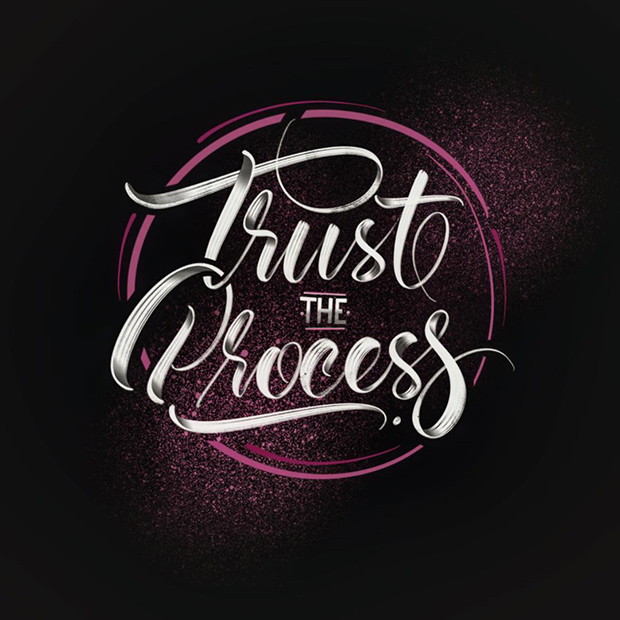
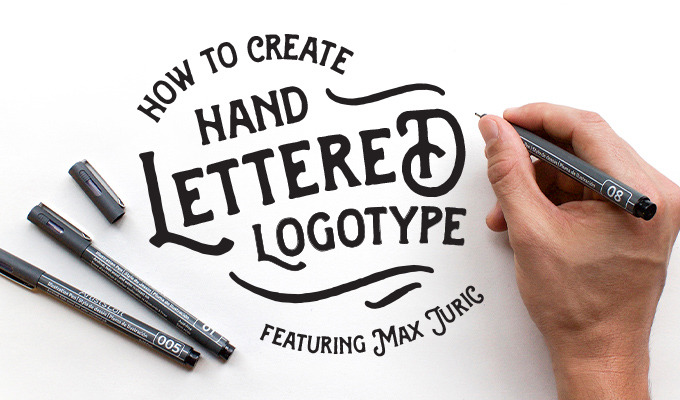
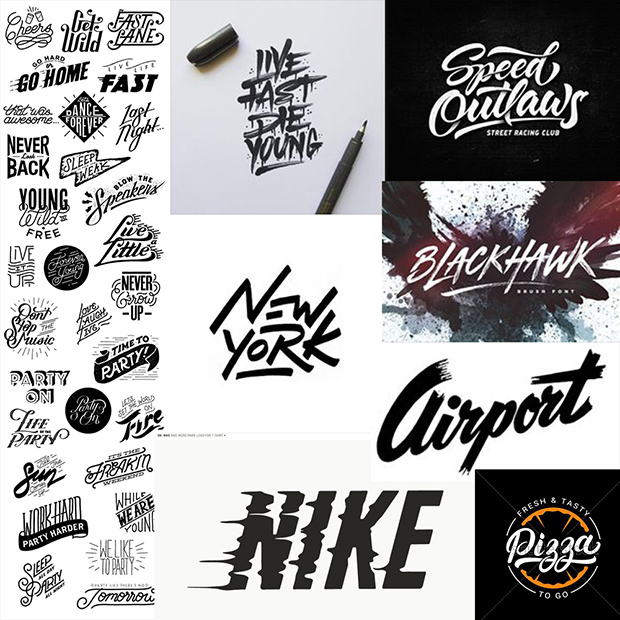
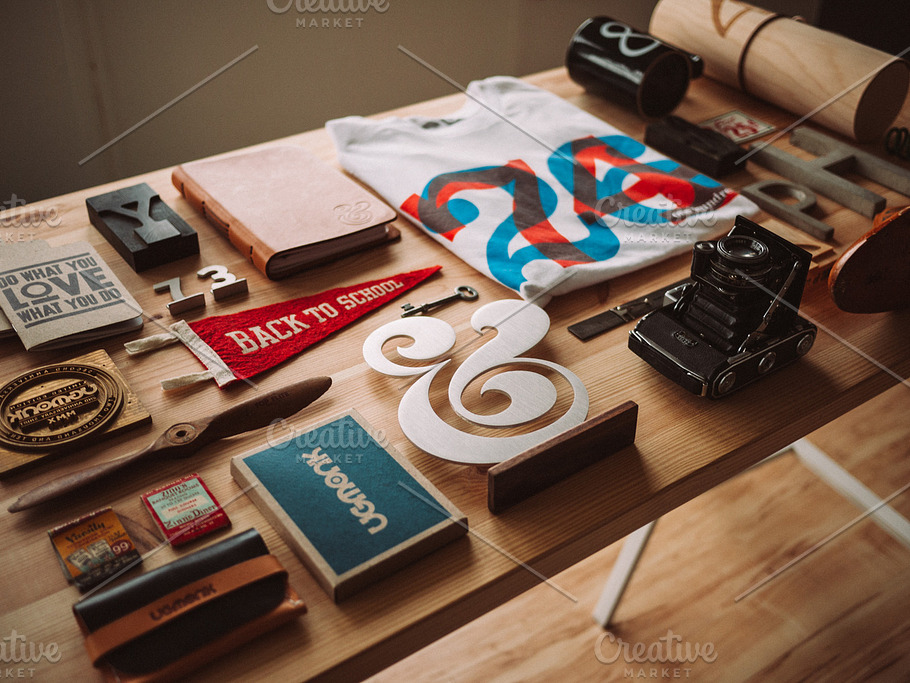
Above: An example of Max's lettering work.
Max also started Lettering Daily to help others learn how to turn their passion into opportunity.
He spoke about starting the platform: "Lettering Daily started as an experiment, but it didn't take much to bring it to a whole new level."
"The thought behind Lettering Daily was to create a place for both beginners and more experienced artists to inspire, learn, and grow together," Max continued.
"We are constantly working on new ideas and trying to collaborate with people worldwide in order to bring the best educational and inspirational content to our audience."
Let's turn things over to Max and learn how to develop and refine hand lettering skills, in order to create opportunities.
Turning Skill into Opportunity
Hey there everyone, Max here. Thank you for giving me the opportunity to teach you something new today. I'll start off by acknowledging that I know making a living from your hand lettering may seem impossible, or at least far-fetched. But selling your artwork online digitally with prints, fonts, templates, and brushes is just one way to make money. You can create a diverse income stream for your lettering skills by using freelancing platforms and creating a strong online presence.
In this article I am going to guide you through the process of creating a hand lettered logotype. You can then utilize these skills to build new freelance clients, or sell your work digitally on platforms like Creative Market.
Here are some of the things you will learn in this article:
- Basic concepts of logo design regardless of your skill level
- How to break down the design process from start to finish
- How to find freelancing platforms to obtain client work
- Tips that will help you create your own sustainable business
This article will give you the skills to ensure that you always deliver something your clients will be satisfied with!
Although this guide is intended for beginners, some basic software skills are required. The good news is that I've included some useful sources to help you learn those skills in no time!
Understanding the Basic Concepts of Logo Design
In my experience the biggest mistake I see beginners make is misinterpreting the concept of logotype design. The purpose of a logotype is not just to be "pretty" or "nice looking," but to incorporate the values of the business that it stands for.
Allow me to elaborate:

Imagine you were hired by a lawyer and they asked you to create a logotype. The logotype would need to communicate not only the lawyer's line of work, but also their personality. For the sake of this example let’s imagine that this is a highly professional individual who works with large clients exclusively.
It is unlikely that bouncy modern calligraphy with flourishes and a bunch of colors would be appropriate for that kind of client. While this may look great, imagine what sort of impression a logotype like that would make to potential customers—it would communicated the wrong values. In this case a clean and minimalist approach with a sans-serif font would probably be a much better fit.
To sum it up: You need to understand who are you working with.
In order to gain this understanding, during the brief with your client, you should ask as many questions as you can in regards to the business. Be sure to do this before you even start sketching the first variations. The better you understand the client the better you can match their style and needs.
Here is a quick list of common questions you should ask before you start working on sketches (but don’t hesitate to ask more):
- What is the purpose of the business? – This is the most important question and will give you the main direction of the design.
- Where is it located? – Knowing the location of the business could be helpful, and in some cases is crucial.
- Who is the main target audience? – Simply put, you want to make sure you use design elements that are properly suited for the target audience.
- What is the USP? (Unique Selling Point) – Every business has a unique selling point. For example, a coffee shop may have a special type of homemade coffee as their USP, but also offer snacks and other drinks to their customers. Now that you know the USP of the business, you can potentially use it as an element in the design.
Note: There are occasions where clients will have a specific design idea in mind that might not be appropriate for their business. It is your job as a designer to explain the reasoning behind your choices, and how those choices can help communicate the values of their business.
The Design Process
The design process varies from person to person, and you'll likely develop your own process in time. However, I'll break down my process in order for you to get an idea of how it may be done. This process was influenced by other designers, and with time, it has evolved into a process with a very high success rate.
First off, everything starts with you either applying to a project, or being directly contacted by a client. Next up, the brief.
The Brief
This is the very first thing you will do with the client. During the brief, you will get information about the company or business. As I mentioned earlier, it will be up to you to ensure you have all the information you need to deliver the best possible service to the client. The more you know about the business, the easier it will be for you to create a great design.
We can follow the design process for a logotype I did for Artsn, which is a house and dance music production project. Below is a summary of the brief that I wrote up for the project:
1. What industry does this project relate to?
The music industry.
2. What is the company's name, or the letters you would like to use in the design?
Artsn
3. Tell me more about what the business is about. Also knowing where the logo will be used will help me determine the style in a more precise way.
Short for Artisan, It's the name I'm currently going by for my house and dance music production project. The logo will be used as a banner for social media pages, added to the cover art of remixes and original works, printed for display in music venues, and used in various promotional material; possibly clothing as well.
4. What is the amount of involvement you would like to have throughout this project?
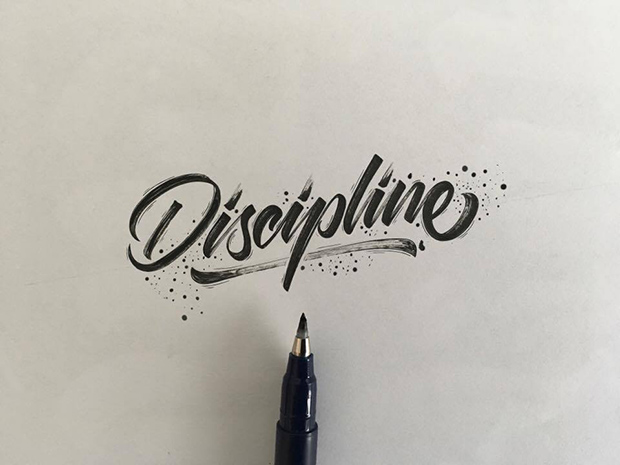
Based on the reviews and the imagery provided, I trust your judgement. I would like to say additionally I'd like to steer you in the direction of the image on your page of "Discipline" written in calligraphy, as well as the good vibes image.
After the initial brief, I still lacked some information and a general sense of direction. I asked him to show me some of his work, and after listening to some of his tracks, I started to get a better feeling for the project. His music is a mixture of dance, house, and EDM.
Using the knowledge that I learned above, I'm now able to continue on to the next stage of the design process. Creating a mood board!
Starting Your Mood Board

Often overlooked, mood boards are an excellent tool for inspiration. One great source for mood boards is Pinterest, which works as an amazing visual search engine.
Let’s imagine that you are creating a hand lettered logo for a restaurant. You can search on Pinterest for "lettering logo restaurant," potentially adjust your keywords, and pick several logos for inspiration.
Materials for mood boards can be found on other platforms as well, such as Behance or Instagram. Once you have collected a few designs that fit within your parameters, place them together in a mosaic-like picture. Then, give yourself a high-five; you just created your very own mood board!
Here is an example of the mood board that I created for Artsn. Notice how there are references from several different sources, but they're all communicating a similar theme.
Now it’s time to move on to the sketching phase.
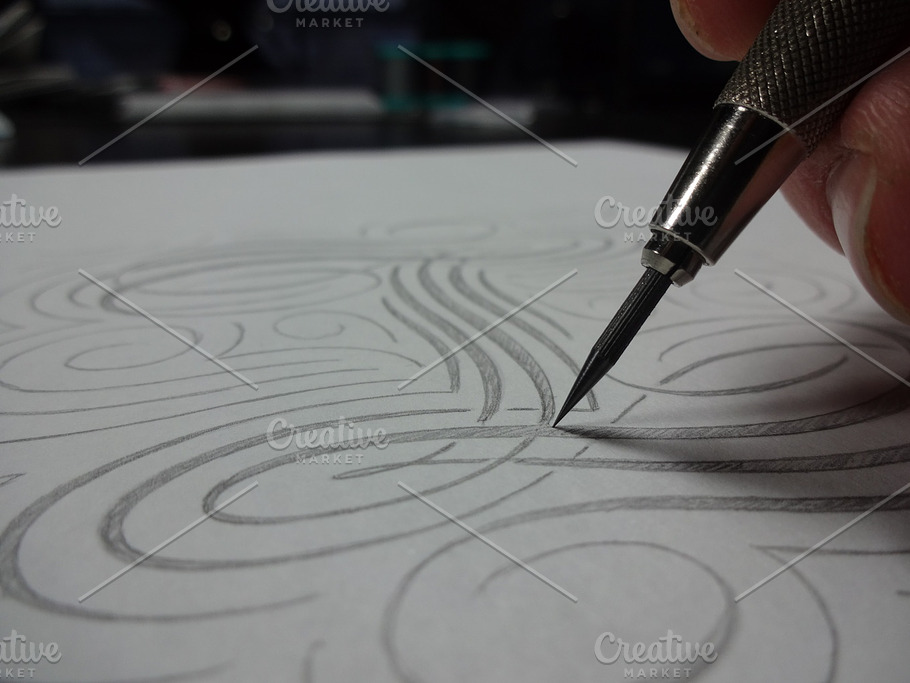
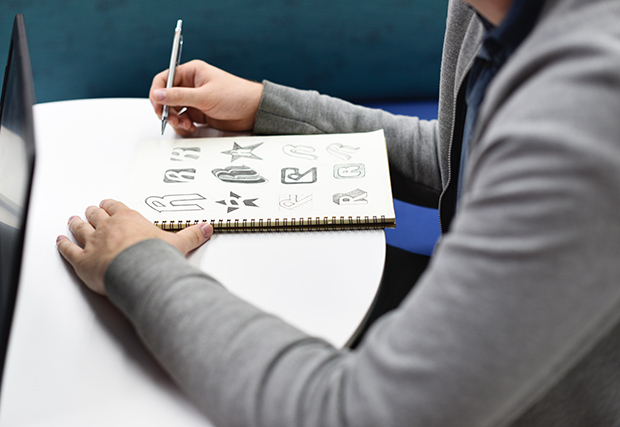
Sketching
This is where you put your creative skills to work! Sketching is an essential part of this process, and all you need to get started is a pencil and paper. Of course, you'll also want to use your previously created mood board as an inspiration source.
There is no exact number of sketches you should make, but in my experience, I find between 5 and 30 rough sketches work best. Remember, these are rough sketches and they don’t need to be perfect. Their purpose is to determine the layout and style. You don't want to get too caught up in the details at this stage, so I don’t recommend spending too much time on the first round of sketching.
Once you've finished sketching your ideas, pick 3 to 5 sketches to send to the client for feedback. Once one of the sketches has been selected, you can start refining it. Tracing paper will be a huge help at this stage, and can assist you in transforming a rough sketch into a ready-for-illustrator sketch!
For the Artsn project, I decided to incorporate his artistic persona within the logotype itself. His music represented a high level of BPM (beats per minute), which could be interpreted as something dynamic with a lot of movement. That was my main idea behind this logotype. We'll get to see what this looks like in the Vectorize It! section below.
Vectorize It!
In order to create a professional logotype you will need to learn how to turn your hand lettering into a vector. This is crucial for several reasons. Having a logotype in a vector form not only ensures the best quality, but also gives the client infinite scaling sizes (vector based objects [logotypes in our case] can change size without losing quality, while pixel based objects are created at a set size, and cannot scale past what they were initially sized at).
Vectors are a standard in today's design industry, so if you want to succeed as a freelancer, learning this skill is a must.
If you already have some experience with Adobe Illustrator (or another vector based program) and the pen tool, feel free to skip this step.
This step can seem complicated and overwhelming as a beginner, but the truth is that it’s really not a big deal. Like anything else, it just takes some practice. Speaking specifically, if you have never used the pen tool before, it will take you a few projects to get used to using it. For this reason, I strongly recommend practicing with a few hand lettering pieces before starting with client work.
Here is what my final vector work looks like for Artsn inside Illustrator. You can see the pen tool paths highlighted in red to see how the shapes have been created.

I remember when I started vectorizing my work; it all seemed like rocket science. But with 2 weeks of practice it started to feel like second nature. If you'd like a little extra help, here are a couple really awesome video tutorials to help you learn the basics and get ready to start some client work!
This video goes over how to vectorize your hand lettering.
This video goes over the basics of the pen tool in Adobe Illustrator.
Update the Client and Finalize It!
At this point you have already vectorized the hand lettered logotype. You've also fixed the proportions, height, kerning, and angles. Now it's time to update the client on the process by sharing some screenshots. However, you don’t want to just take a few quick screenshots and send them over.
Instead, you want to present your work in a professional manner. Lucky for you, I've shared an excellent video tutorial below that walks you through exactly how to do this.
Once the client has confirmed they're happy with the results, check to see which file formats they need and send them over. Sometimes even after you send final files over, the client will request more changes. Make sure that your contract covers cases like this just in case they happen. It's often a smart idea to build in fees for future revisions once the initial project is complete.

As you can see from the final version of the Artsn logotype, it is slightly tilted upwards to reinforce the dynamic feel of the client's music. This combined with the "fast" strokes provides a solid visual representation of their work.
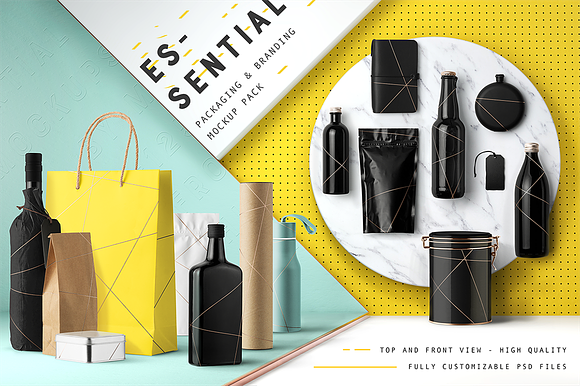
If you're looking for options for presenting your work professionally without having to create all of the various elements from scratch, you can consider purchasing a product mockup kit that fits the client's personality and style. Below is just one of the many examples available on Creative Market:
Where to Find Client Work?
So, now you know what to do with a client project, but how do you get clients in the first place? If you haven't done so already, your first step is to create an online presence. This is incredibly important for your long term success and will help you gain new clients. Create profiles on social media platforms and start sharing your work. Some popular ones are:
- Behance
Keep a consistent look on the various platforms to reinforce your brand. You can do this by using the same logo, banner, and description across sites. As you grow your audience you will eventually start to get clients contacting you through these platforms.
If you really want to take it a step further and leave a more professional impression, create your own portfolio website by following this tutorial:
Once you have your social media and portfolio sites set up, it's time to sign up for some freelancing platforms and start to look for client work. In my personal experience Upwork is by far the best freelancing platform. With higher rates and excellent customer support, Upwork offers the opportunity to make a full-time income as a freelancer.
I suggest avoiding contest based platforms such as 99designs since you are doing the work upfront with no guarantee of payment. While websites like this may help you grow your portfolio, there are better options out there that will guarantee payment.
If you're looking to bolster your portfolio with real client work, consider doing work for charity organizations. Not only will it give you real client work, but it will also be for a good cause.

While looking for clients, be patient and work hard. Over time you'll find yourself gaining traction and improving your skill sets. Don't attempt to rush into full-time freelance work. Allow your client base to build up naturally, and should the time ever come where working for yourself is the right move, you'll know that you'll be able to support yourself. With every project you take on, enjoy the process and focus on delivering the best possible service to your clients.
If you want to see how I handle my social media accounts, feel free to check out my Instagram profile. It's constantly updated with my newest work, and it has been a great way for new clients to find me.
Bonus Tips
Here are a few bonus tips from my own personal experience that will help with your freelancing journey:
Combining Fonts
When creating logotypes you will have to learn how to combine fonts with your hand lettering. This can be done either with already existing typefaces or with custom made letters. Check out these resources to extend your knowledge on this subject:
- How to Mix Fonts like a Pro
- Inspirational Examples on Pinterest
- 5 Mistakes to Avoid When Mixing Fonts
- 50 Tutorials, Resources, and Pro Tips for Combining Fonts
Keep it Organized
This is something I wished I had done at the very beginning. Create one e-mail address for all of your accounts. My mistake was having several email addresses for different online platforms. This made my internal organization very complicated, which resulted in missed business opportunities and a lot of frustration.
Additionally, as you find increased amounts of work, you will start to gain income from different sources. A good tip would be to start keeping records of all of your finances to avoid any complications in the future.
Never Work Without a Contract

If you only work on freelancing platforms such as Upwork, Fiverr, or Freelancer, they've already built-in contracts to keep things simple. These will protect both you and the client from any nasty surprises. On the other hand (as mentioned before), with time your online presence will grow, and you will start to receive offers from different sources.
Unfortunately, I learned the importance of only working with a contract the hard way, but you don’t have to! Never start to work without having a contract signed by both you and the client. Keep in mind that this not only protects yourself, but also protects the client. It's a win win situation for everyone involved.
When it comes to contract creation, there isn't a singular answer for everyone. Laws vary for different countries, so I would highly suggest you do some research before creating a contract for your clients. It can be helpful to consult with local designers in your area, or to request a consult with a legal expert to point you in the right direction (or even have them create these forms for you).
Don’t be afraid to start!

We live in an amazing era where the Internet allows us to not only connect with people all over the world, but also to learn new skills every single day! If you are passionate about hand lettering, calligraphy, or typography, don’t let anyone tell you that you can't make it.
Believe me, you'll be surprised how much you are capable of once you start pushing yourself to actually do it.