
A great photo is only the first step. To use them effectively in your blog, you need to be familiar with all the ways they can be transformed with Photoshop. A few years ago, this knowledge only existed within the community of graphic design professionals, but now it's accessible to complete beginners. The thirty free tutorials linked below are intended for non-experts and they provide all the tools you need to give your Photoshop blog graphics a polished, professional look.
1. How to Make a Color Palette in Photoshop
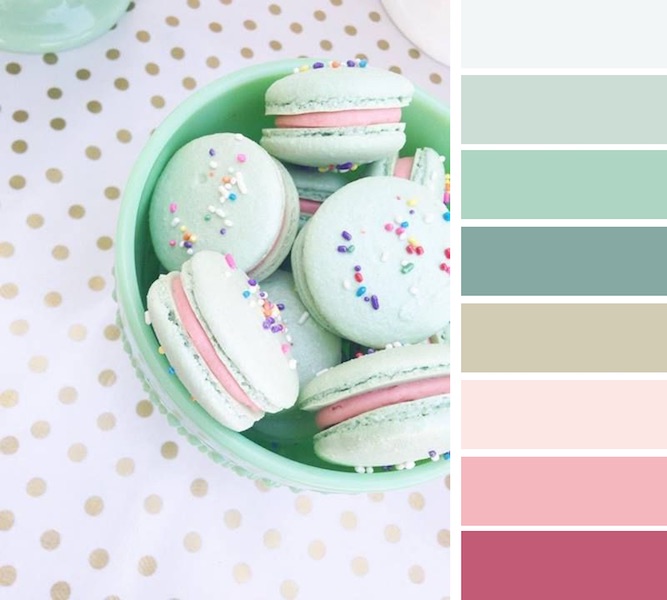
Web designer Christina showcases her work and shares tricks of the trade on Elan Blog Studio. Her color palette tutorial demonstrates how to choose a photo with tones that appeal to you, use the crystallize filter, and then use the eyedropper tool to drop the tones you choose into color swatches.
2. 5 Awesome Photoshop Tutorials for Bloggers
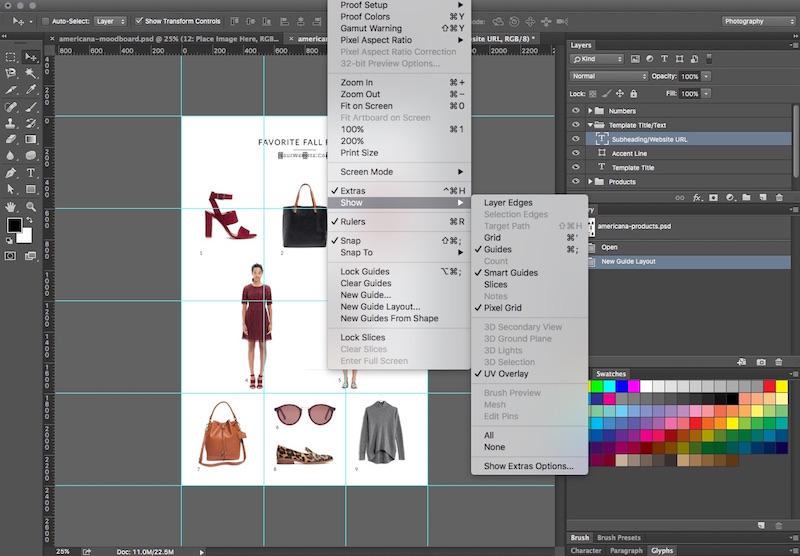
The White Oak Creative Team offers step-by-step guides to using Photoshop for bloggers who don't have a background in graphic design. The five guides contained in this tutorial cover the following topics: alignment and spacing of images, removing background, creating smart object layers, clipping masks, and saving images for the web.
3. How to Create Crisp and Sharp Photos Using Photoshop
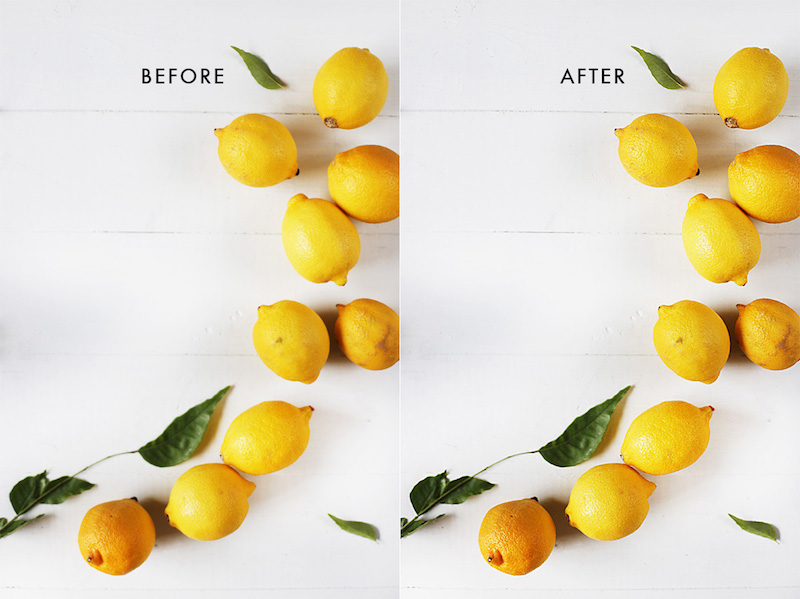
Pinkpot Design Studio is the online home of graphic designer Chaitra. Geared toward creative entrepreneurs, the site offers a straightforward tutorial onusing Photoshop's Sharpen filter. Chaitra explains how to use the slider inside this tool to achieve the ideal degree of sharpness in your image and how to avoid the graininess that can result from over-sharpening.
4. How to Make a Laptop Mockup with Photoshop
On her site, ItsOrganized.com, designer Jackie has posted a video tutorial on how to make a laptop mockup in which you can showcase your own digital products. In addition to the video, Jackie also provides a free downloadable Photoshop template on the tutorial page so that all you have to do is insert your own image.
5. How to Get Brighter, Better Photos in Photoshop (in 60 Seconds!)
Melyssa Griffin displays persuasive 'before' and 'after' photos to show how much improvement you can achieve by increasing the brightness and contraston your photos. Her tutorial assumes you're a beginner, and it teaches you how to use the 'Curves' tool to adjust brightness, increase contrast and fix the colors. She also covers sizing and sharpening the final image.
6. Creating Colorful Backgrounds in Photoshop
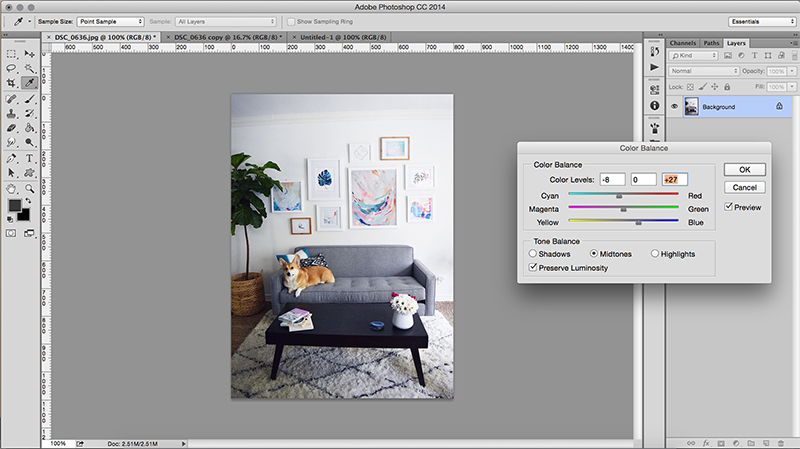
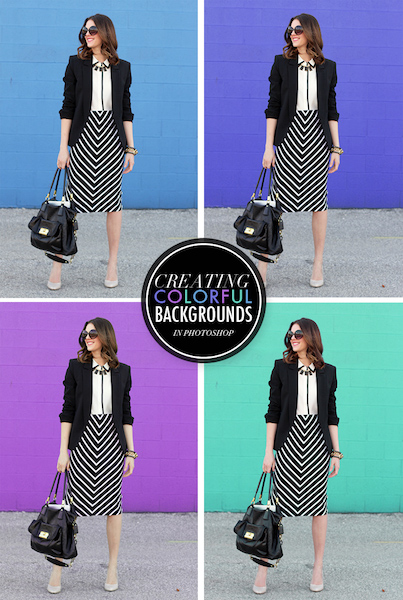
Style blogger Jessica Quirk takes time out from her usual fashion blogging on WhatIWore.com to give her readers a tutorial on how she creates the colored backgrounds for her fashion shoots. She explains the trick of having the model stand against a contrasting color wall for the photo shoot, so that the wall color can later be selected and replaced.
7. How to Create a Clipping Mask in Photoshop
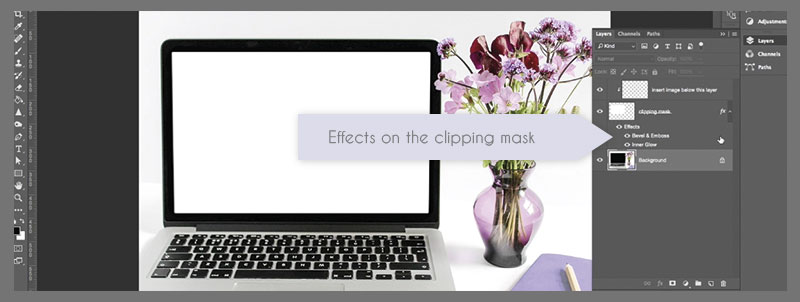
Melyssa Griffin offers a variety of courses for entrepreneurs and bloggers looking to up their game. On her website, she explains the steps for creating and using a clipping mask. She goes on to demonstrate how to use the clipping mask for photo layout and typography to give your blog a professional look.
8. Create Pinnable Blog Graphics Using Photoshop
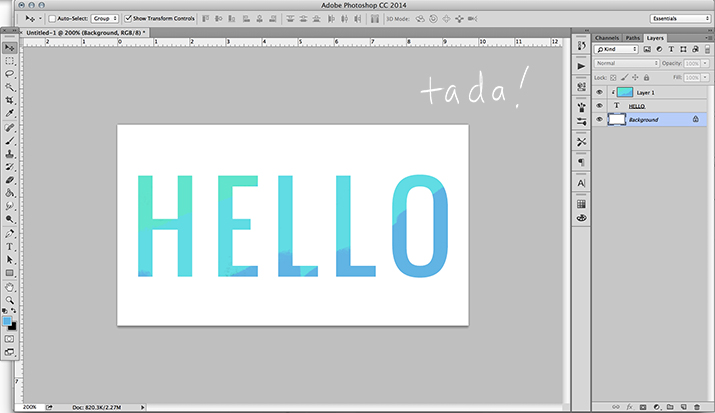
Graphic artist Holly McCaig demonstrates how to create sophisticated-looking graphics for your blog using color gradients and then adding text on a new layer. On her website, Holly McCaig Creative, she gives good instructions in choosing the right typography and reminds designers not to use more than two different fonts in one image.

9. YouTube Video on Creating Pinnable Blog Graphics
To address everyone's preferred learning style, Holly McCaig also offers her tutorial on pinnable blog graphics in a 12-minute YouTube video. Read the text (see #8, above) and then watch the video to gain a confident grasp of the skills.
10. How to Use the Blur Tool in Photoshop
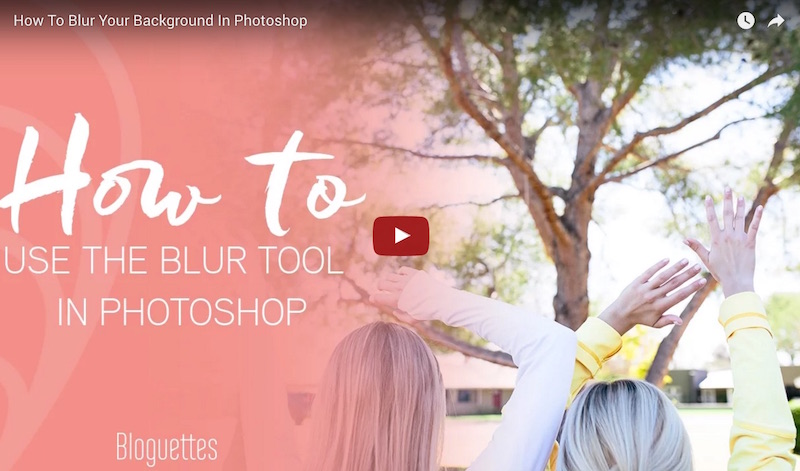
In her video tutorial on selecting and blurring certain portions of an image, Bloguettes creative director Sakura Considine shows the basic steps to using this important tool. She also takes time to explain why blurring the background is often essential for good image composition.

No comments:
Post a Comment