Translate

Showing posts with label blog. Show all posts

Saturday, December 16, 2017

Free Photoshop Brushes to Decorate Your Holiday Cards


Free Photoshop Brushes to Decorate Your Holiday Cards
Adobe Photoshop is a program that offers seemingly endless potential for creating. With all of the incredible features it boasts, it can sometimes be overwhelming to try to figure out how to make the most of them.
That's where Photoshop brush expert extraordinaire Jessica Johnson comes into play.
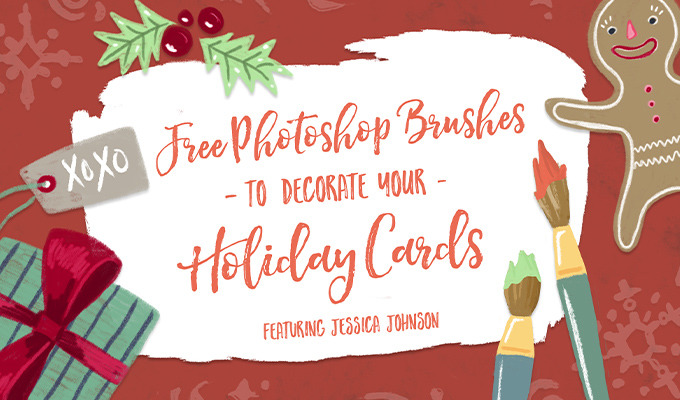
She's going to be walking us through some of her favorite brush techniques inside Photoshop. It will unlock your creativity and show you her insider techniques to create your own stunning holiday cards and illustrations!

Getting to Know Jessica

Jessica comes from a fairly traditional design background, having graduated from Missouri State University in 2002. "We BARELY had the internet when I was in university... so things were VERY different," Jessica explained.
img
Her university's design department was headed by a group of distinguished “old school” professors. Although being very tough, Jessica learned to appreciate how they instilled in her the most important design fundamentals. These included how to properly approach design, and the importance of creative problem solving.
Jessica reflected, "These are the skills that are the foundation of who I am today as a designer." These skills, mixed with her insatiable curiosity, pushed her into the rewarding career of developing tools to help other designers.

Jessica's Adventure into Creating Custom Tools for Designers

Jessica started creating design tools during a rough patch in her life. She was living in Miami Beach and her freelance work was drying up. On top of that her dog started suffering from heart issues, and the expenses piled up. Out of desperation she decided to pack her dog and belongings up to move back with her family in Missouri.

Avoiding the 9-5 Life

After staying in Missouri for a few months Jessica came to the realization that she needed to start making money fast, or she would need to start a more typical 9-5 job again.
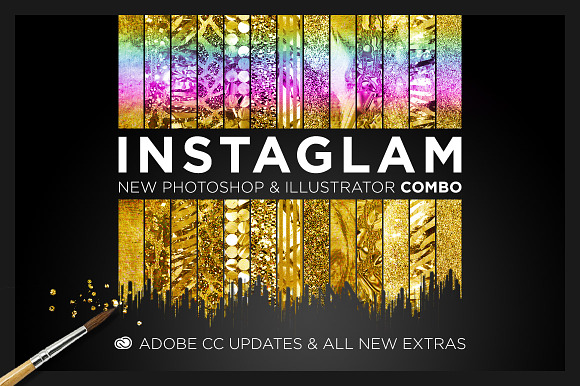
"I had uploaded just a few products onto Creative Market up to that point with a few sales... but I had an idea for a product I thought could be a BIGhit," stated Jessica. "I wanted to create a kit for some gold foil effects, not shiny gold like you used to see on club flyers all the time, but a gold leaf / gold foil effect."
At the time, there wasn't anything like it on the market. She had to work hard to bring her vision into life, and make sure that it looked good no matter what it was applied it to.
After releasing the product to a seemingly slow start Jessica said, "...it somehow gained traction and took off like crazy, and in those first few months I sold a BUNCH! All of my hard work, late nights, and manic over-creating (I created something like 180 original patterns which were the base of my effects) finally paid off!"
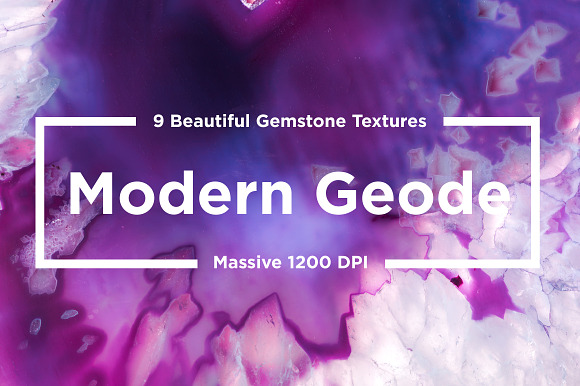
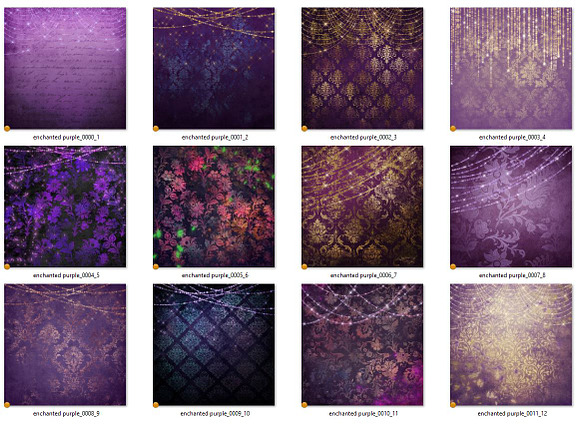
Jessica's hit product is shown below:
Jessica reflected on this experience, "It was a high I will never forget, and hearing amazing feedback from my fellow designers was more rewarding than anything."
She also noted, "One of the things I love about the career I’ve been able to carve out through Creative Market is the freedom I have to work wherever I want — which is a huge privilege — and being able to spend time with my best friends who live all around the world. I am able to live a life I never dreamed of up growing up in a small town in Missouri!"
She continued, "I even turned my travels into an instagram featuring my stuffed fox — that I’ve had since I was 3 years old — which went viral due to a fundraiser for a friend with cancer."
You can view her now famous travels with Mr. Fox here: https://www.instagram.com/thetravelingmrfox/

Stepping into Custom Brushes

Jessica built her niche in creating layer styles, but never stopped experimenting. "I had been purchasing brushes from my fellow designers, and became more and more intrigued by what was possible. That got me into experimenting with the brush settings and creating my own brushes for projects," she said.
Along the way, Jessica realized that she could take the brush techniques she developed and turn them into products for designers of all levels to enjoy and use.
"It was very essential for me to create a product that would let designers of all levels be able to pick up these brushes and start creating, no matter if they were a beginner or an advanced illustrator."
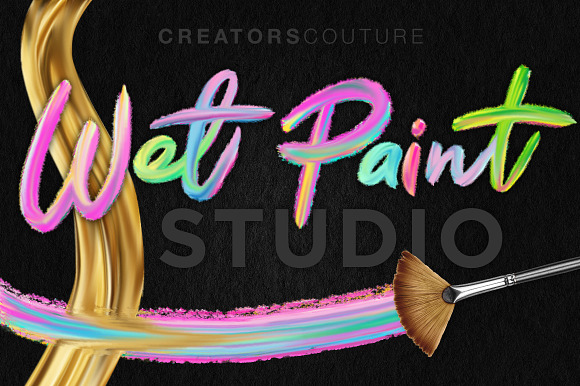
She continued, "I am proud to say that with the Impressionist Brushes and Wet Paint Studio (shown below), I was able to put something into the market that hadn’t been seen yet, and translate techniques I developed into a turnkey solution for so many of my fellow designers."

Hacking the Pattern Stamp Tool for Impressionist Color Blending Brush Strokes:

img
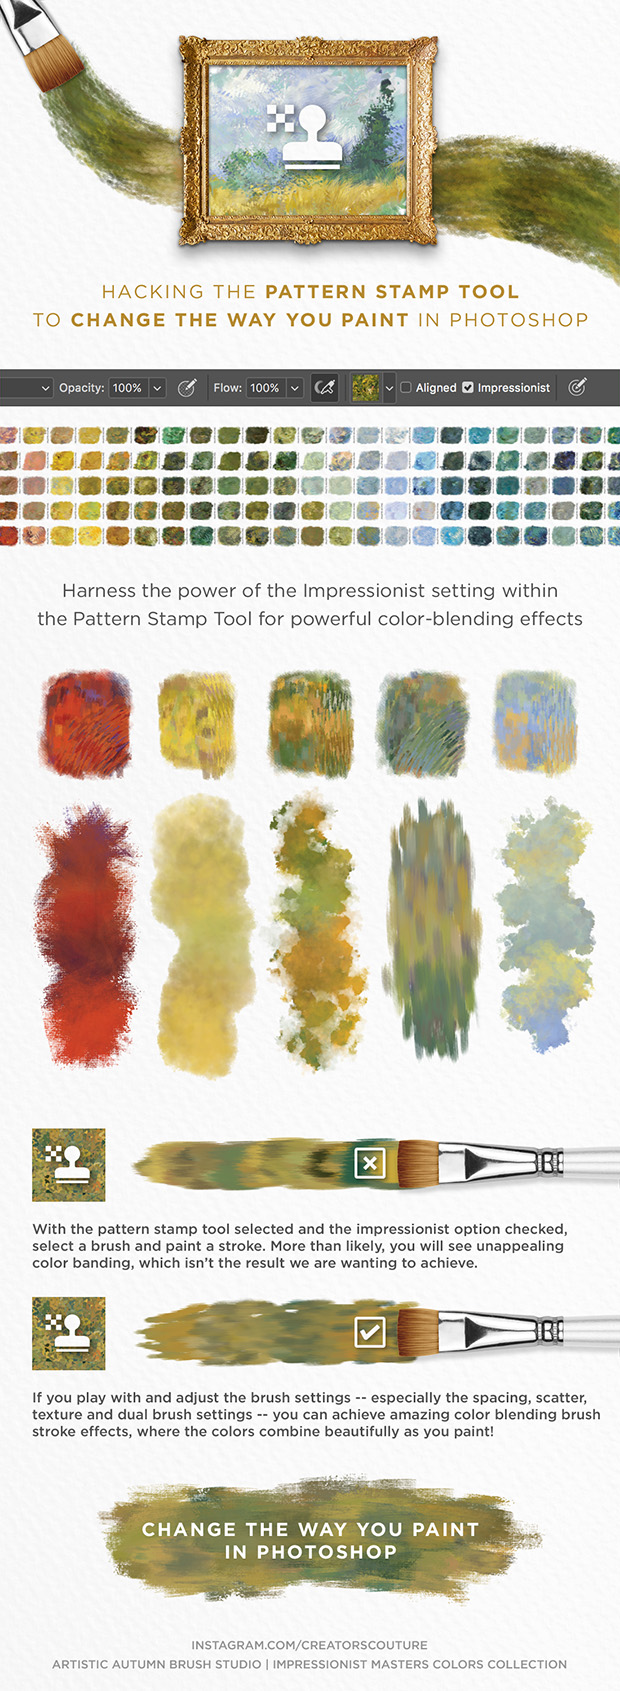
The pattern stamp tool is an often overlooked tool in the Photoshop arsenal. It's a powerful design tool that can help you make amazing color blending effects and illustrations.
Since pattern overlays are perhaps the most common way to apply a pattern to an object in Photoshop, I feel that the pattern stamp tool — which simply applies the pattern to an area you paint with a brush — is overlooked by designers and illustrators.
More importantly, there is a setting WITHIN this brush that is also overlooked. The impressionist brush setting. When checked, instead of painting the pattern as you paint with your chosen brush, it will ‘spit out’ all of the colors that are WITHIN your pattern. If you grab a regular Photoshop brush and try this it will likely not look great. You will probably see unappealing bands of color as you paint.
However, if you tweak the Photoshop brush settings, you can disperse the brush marks so the brush creates an appealing blend of colors. What's cool about this feature is you can create a pattern that contains exactly the colors you want in your brush stroke; even if they are unrelated.
The color jitter feature has long been included with Photoshop brushes, but there are limitations, and it's tricky to be precise with the colors. You can blend foreground to background, or jitter the hue, but it's nothing compared to the pattern stamp tool!

Wet Paint Brush Effects Are One of the Coolest Features in Photoshop You’re Not Taking Advantage of:

img
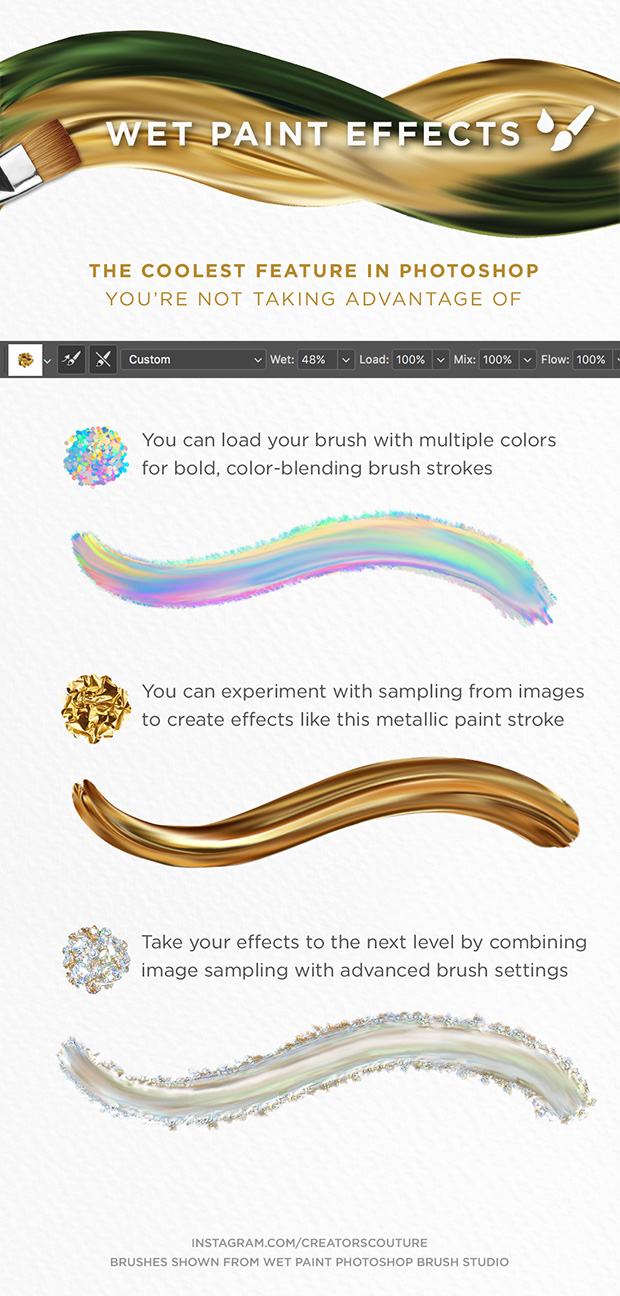
With the emergence of digital painting on our tablets, and new programs like Procreate luring designers away from Photoshop, it's easy to forget that some of these ‘new’ features are already in Photoshop. You're just not taking advantage of them!
Not only that, there are also amazing things you can do with Photoshop that you can't do with apps such as Procreate.
With the wet paint brush tool in Photoshop, you can pick up and sample MULTIPLE colors at the same time (not just push them around), and adjust your brush settings to create amazing wet paint strokes that blend all of the colors you have sampled in amazing ways.

With the Right Tools ANYONE Can Be an Illustrator

True Story: I cannot draw. As a fine arts major, I had to take drawing and painting along with everyone, but my attempts at realism were mediocre at best. I always considered myself a ‘designer’ and never IMAGINED that one day I could be creating illustrations I would be proud of.
However, through this journey creating tools and resources for other designers, I discovered that I was becoming an illustrator! What I LOVEabout advances in technology, is that it gives someone like me who can't traditionally illustrate, the ability to bring ideas to life. All because I've created tools to make this possible.
By creatively harnessing the power of the tools within Photoshop, I’ve pushed my own boundaries and am now able to create designs and illustrations I never imagined possible!

Push Yourself Through Experimentation and Play

One of the most important things I can stress is giving yourself time for creative experimentation and play. A LOT of the time, my tools and resources were the direct result of 'just messing around' and not because I was expressly trying to create an effect.
You may not consider yourself an illustrator, but by harnessing the power of the amazing design programs we have, you too can create things you never imagined possible! You may find yourself creating your own illustration sets instead of purchasing them and they will be uniquely your own!
As I’ve released my sets of brushes, I get messages from designers of all levels saying how they are surprising themselves with what they are able to do because of the power of Photoshop tools! This holiday season why not experiment and see what you can create.
Now we can use Jessica's techniques and brushes to create our own holiday cards!

Tutorial: Create Your Own Holiday Card

Download the Sample Brushes and Follow Along!

Step 1

Download and Install the Sample Brushes

Free Photoshop Brushes

img

Perfect for greeting cards

Add a special touch to your print design projects with this free set of brushes by Jessica Johnson.
In creating this holiday card design, we are using just a SINGLE mixer brush from my Wet Paint Studio collection, and I have provided 6 different ‘pre-mixed’ palettes that you can sample from to create beautiful brush strokes exactly like these!
In a hurry to see what you can create? Use the PRE-LOADED tool preset brushes in the file which have the colors already loaded for you!

Step 2

Using the Pattern Brush
Again, we will be using just a single pattern brush from my Modern Impressionist Pattern Brush Studio to create the glow of the holiday lights.
We will use 3 different Pre-Fab color palettes which will let you paint in beautiful, multicolored impressionist brush strokes that match the colors in the holiday lights! These brushes are also provided to you as a tool preset file, with the patterns already loaded and ready to go!

Step 3

Create Your Lettering
Create BEAUTIFUL ‘hand-lettered’ text with the gorgeous mixer brushes. NO layer style can emulate the directional brush strokes like you see here!
Pro-tip: Use your favorite font as a guide! Simply type out your text, create a layer above it, and follow the letters as a guide for your beautiful painted typography!
On this lettering, I used Buttermilk Farmhouse by Make Media Co. as a guide for my text!
Another tip: If you have the latest version of Photoshop CC 2018, use the stroke smoothing for even more fluid and natural strokes, even if you don’t have the steadiest hand!

Step 4

Illustrate the Greenery
Watch how easy it is to create beautiful illustrations with only two brushes.
Here, we draw out some very simple greenery shapes that anyone can master, and we let the brush do all the heavy lifting.
The mixer brush creates beautiful color blends that make even the simplest shapes beautiful and interesting. Add some gold into the mix, and be astonished and how beautifully it blends together — like real paint… ONLY BETTER!
Brushes Used:
  • Green Mixer Brush
  • Gold Accent Mixer Brush

Step 5

Create Glowing Holiday Lights
The glowing holiday lights are just as easy and fun to create! A basic oval shape becomes a glowing holiday fairy light when you load it full of beautiful colors from my Wet Paint Studio.
The base of the light is created with the gold accent brush. Then we use our pattern brush loaded with gorgeous Pre-Fab Color Palettes to create the artistic glowing effect around the fairy lights. After we brush the strokes, we will lower the opacity of that layer for the proper subtle effect!
Brushes Used:
  • Light 1 Mixer Brush
  • Light 2 Mixer Brush
  • Light 3 Mixer Brush
  • Gold Accent Mixer Brush
  • Lights 1 Multicolor Glow
  • Lights 2 Multicolor Glow
  • Lights 3 Multicolor Glow
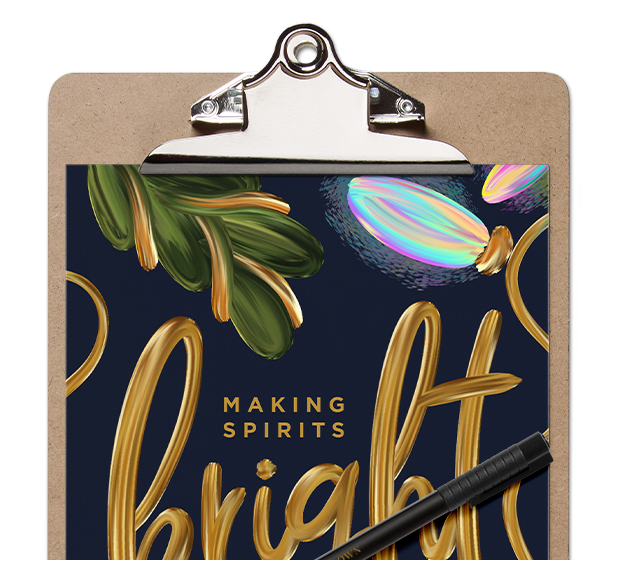
Step 6: The Finale!

Put Everything Together
With only these 2 basic brushes, we can create a gorgeous artistic card like the one shown here. I hope you are inspired to experiment with Photoshop brushes more in the future, even if you don’t consider yourself an illustrator.
As you see here, there are a very powerful arsenal of tools within the Photoshop brush options. And NOW you have a couple insider tricks that can help you take better advantage of them to create designs and illustrations you never thought possible. It doesn't matter if you are a designer, illustrator or even a hobbyist!

Continuing Jessica's Story

"I carved out a niche career I never EVER could have imagined possible as I was making my way through design school," Jessica exclaimed. "Plus the fact I am doing work that thrills and inspires me, and makes a difference in other designer's work, makes all the hard work worthwhile."
When asked about how she continues to create amazing products she said, "With each message or comment I get on my product, I am injected with a boost of happiness and motivation that I am making an actual difference in someone's work or creativity."
"THIS is what keeps me going! If you learn something, share it with others! What you will get back is greater than what you put out...always!"
So with that message in mind, be sure to let Jessica know what you think of her brushes and techniques.
And should you create something awesome using the incredible brushes Jessica shared, be sure to link what you made in the comments below. We can all make this holiday season a little bit brighter with our creativity.

FREE Photoshop

Brushes

img

Perfect for greeting cards

Add a special touch to your print design projects with this free set of brushes by Jessica Johnson.

Sunday, December 10, 2017

Meet Ultra Violet: Pantone's Color of the Year for 2018


Meet Ultra Violet: Pantone's Color of the Year for 2018
We had been seeing purple hues pop up in virtually every major brand redesign this year. Back in 2014, Pantone had already given us fuchsia/purple dreams selecting Radiant Orchid as Color of The Year. Still, nothing could have prepared us for Ultra Violet: a galactic, deep purple shade that is about to take the world of design by storm. In words used by the Pantone team this morning, "Ultra Violet lights the way to what is yet to come."

What Purple Represents

We've covered some of the emotions associated with different colors here before. Purple, in particular, is often linked to terms like soothing, exciting, and calm. In a study on fashion brand personality, purple logos were significantly associated with sophistication, including traits like "feminine", "glamorous", and "charming".
As a color, purple is the result of combining red and blue in different proportions. Warmer purples (like lilac) contain more red and cooler purples (think periwinkle) contain more blue. Ultra Violet, the specific shade Pantone has chosen this year, is closer to blue, features a high chroma (intensity), and a low value (dark).
 

Hop On The Trend

Feeling ready to use Ultra Violet in your next project? Here are a few fonts, graphics, and templates that will make it much easier:

Glowing Violet Neon Type


Wednesday, November 15, 2017

How to Become More Productive in 30 Days: The Challenge

How to Become More Productive in 30 Days: The Challenge


By on Nov 13, 2017 in InspirationHow to Become More Productive in 30 Days: The Challenge
Whatever you're working on, being productive is the key to reaching your goals. But productivity doesn't just happen - it comes from the habits you develop and the choices you make every day. Here's a guide to developing a productivity practice that can help you feel better and accomplish more in just 30 days. Focus on doing one thing each day for the challenge - but make them all habits that become part of your daily routine.

Day 1: Write Your To-Do List a Day Ahead of Time
Productivity depends on planning. Though it's tempting to write a to-do list of daily tasks first thing in the morning, you'll get through that list more efficiently if you write it up a day ahead. That gives you time to mentally prepare for each task and waste less time getting it done.

Day 2: Wake Up Earlier Than Usual

Waking early is a habit shared by many of the world's most successful people - and with good reason. Getting up early adds time to get some of the day's most important tasks out of the way and allows you to start working while your mind is alert and refreshed. Those early hours can also be used for exercise, meditation or other healthy things that can often be forgotten in the press of a busy day.

Day 3: Silence Your Phone

Ringing phones and text notifications interrupt concentration and can distract you from the task at hand. When you're working through your to-do list, turn off your phone or set it to silent. Add a time to your schedule for returning calls and messages, and stick to it unless there's an emergency.

Day 4: Create a Workspace You Love

Research on productivity reveals that people are more energized and productive when they're working in a space filled with colors and things that make them feel good. Whether you share an office with others, or you're carving out a workspace in the corner of your bedroom, take time to add good lighting, fill a wall with prints or posters, or arrange your desk just the way you like it.

Day 5: Find an Ergonomic Chair

Many people spend most of their workday sitting - but sitting in an uncomfortable chair can affect both your concentration and your health. Finding an ergonomic chair that's the right height and supports your back and legs can reduce physical distraction, improve your mood and enhance your productivity.

Day 6: De-Clutter Your Workspace

Some studies on productivity suggest that a cluttered work area actually increases stress, hinders concentration and drains your energy. When your desk is a mess, it's harder to find things you need and the overall look is hardly professional. Take a few minutes to tidy up and clear your workspace at the end of the day, or before you start work in the morning, for an easy way to boost productivity.

Day 7: Play Upbeat Music

The relationship of music to productivity has been the subject of intense study, but research suggests that playing upbeat music, rather than soothing, slow tunes, can boost energy and stimulate alertness. In some studies, people worked faster when listening to fast music with a driving beat. This kind of music can also make people happier and more willing to engage with others, so adding an upbeat playlist to your workday can be a simple and fun way to encourage productivity.

Day 8: Drink Enough Water

Dehydration can impair energy and concentration. Drinking enough water - or other fluids - can help improve your focus and keep your body functioning well. Swig cold water or iced tea for an instant wake-up if you're feeling sluggish at your desk.

Day 9: Keep an Agenda With Daily Tasks

It takes more than a daily to-do list to keep track of all the things you need to accomplish, and it's easy to miss less Important tasks. Keeping an agenda that's inspired by your big goals lets you schedule in all the jobs that need to get done, and reminds you why they should be done to further your long-term plans.

Day 10: Sort Tasks by Impact and Effort

If you're faced with a lot of tasks to do, setting priorities is essential to getting things done. One way to do that is to sort tasks according to the impact they're likely to have on your goals, versus the effort it takes to get them done. A relatively minor job could have a major effect - or vice versa. Organizing your tasks in this way can save time and avoid spending energy on things that don't yield much return.

30 Day Productivity Challenge

img

Are you up for it?

Jumpstart your days with this productivity challenge!

Day 11: Set Realistic Deadlines

Deadlines can be intimidating, but they provide a framework for getting things done. Establish deadlines that are realistic and manageable, given the task at hand and the time available. Build in some flexibility for dealing with unexpected problems that could slow you down.

Day 12: Set Goals for the Day, Month and Year

Goals become more achievable when they're broken down into manageable steps. Decide on your big goals for the year, and then set the smaller daily and monthly goals that will lead to completing the yearly plan. Add these goals to your agendas and to-do lists to keep them in mind.

Day 13: Focus on One Thing at a Time

Though it may seem that multitasking saves time and gets more done, productivity studies reveal that just the opposite is true. The human brain is organized to focus on one thing at a time, so dealing with multiple tasks and processing input from many sources at the same time reduces efficiency and limits your ability to retain information. What's more, some research suggests that habitual multitasking may actually reduce your IQ.

Day 14: Plan Breaks

The traditional "nose to the grindstone" approach leads to burnout and can harm your health. Build short breaks into your workday to stretch, take a short walk, drink some water or even exercise for 10 minutes or so. You'll return to your task refreshed and ready to concentrate.

Day 15: Knock Out Your Biggest Task First

Prioritizing can be a challenge if you have a lot of jobs to do, but putting your biggest task at the top of your to-do list and getting it done clears space for other things. It also gives a feeling of accomplishment that sets the tone for the whole day.

Day 16: Set High Priority Tasks During Your "Peak Hours"

Everyone has a period when they're working at their peak - alert, energized and focused. Whether your "peak hours" are early in the morning, late at night or somewhere in between, use those hours to take care of the most important tasks on your agenda.

Day 17: Work On Delegating Tasks

If you're feeling overwhelmed with too many things to do, consider which tasks, at work or at home, you can delegate to someone else. Make a list of all the jobs that need to be done in a day and decide which ones can be done by a family member or other helper.

Day 18: Work In Intervals and Time Yourself

For many people, working in timed intervals rather than long stretches is a way to improve efficiency and concentration. Set timers or alerts to help pace tasks and remind you to take a break to move around and re-focus.

Day 19: Outsource

Along with delegating tasks to others, outsourcing work related jobs to professionals in those areas can save you time and money. Even getting help for household chores can free your time for doing the tasks that only you can do. If there's anything someone can do better than you can, send that task their way - whether it's taking care of your accounting or cleaning the garage.

Day 20: Designate a Time for Answering Emails

Constantly checking and answering email can consume a lot of productive work time. Turn off email notifications while you're working and schedule a specific time in your workday to answer the ones that are important.

Day 21: Unsubscribe From Distracting Emails

Along with important emails, your inbox may be filled with a variety of distracting notices from lists you've subscribed to. Clean up your email by unsubscribing from any emails that aren't relevant to your goals and interests, or send them to a separate folder to read later.

Day 22: Look for Tools to Improve Your Workflow

If certain areas of your workflow aren't moving as smoothly as you'd like, look for new tools to help. From messaging and meeting apps to schedulers, planners and productivity software, new business tools can save you time and support your long-term goals.

Day 23: Minimize Meeting Time

Meetings may be necessary, but if they're not managed well, they can consume too much productive time. Consider "standing meetings" in which no one sits down, or virtual check-ins and chats with an in-office messaging and team management app.

Day 24: Learn to Say No

Along with delegating and outsourcing tasks to others, learn to say no when you need to. Taking on too many tasks and giving up too much of your time to meet others' needs creates stress and derails your own goals. Don't feel comfortable with saying no? Consider a course or book on setting boundaries to help you get the hang of it.

Day 25: Designate a Break for Social Media

Although social media can be both social and business related, checking your accounts throughout the day consumes work time and affects your concentration. Choose a time such as lunch or an afternoon break to catch up on social media and avoid distractions during work time. If you need help staying away from those distracting sites, consider tools like Leechblock or Nanny - browser extensions that allow you to block specific sites for certain periods of time.

Day 26: Use Your Commute Time

For many people, commuting is a regular part of the workday, and that time can be used for minor work tasks such as checking and answering emails and phone calls, or catching up on reading and research. Consider investing in devices and apps that can help you make your commute time more productive.

Day 27: Exercise Daily

Regular exercise has a long list of well-documented benefits for both the body and mind, and adding daily exercise to your routine can also boost productivity and counter the effects of long periods spent sitting. You don't have to put in long hours at the gym to see the benefits, either. Build exercise into your workday by stretching during breaks, taking a walk at lunch or after work, or using the stairs rather than the elevator.

Day 28: Make a Weekly List of Your Achievements

Seeing your accomplishments on paper can put things into perspective and keep you focused on your goals. Set a time at the end of every week to list your achievements, both large and small, for a boost in confidence and motivation.

Day 29: Reward Yourself

The brain is hard-wired with an extensive pleasure and reward network. Rewarding yourself for work well done, problems solved or goals met can reinforce positive feelings and keep you motivated and moving forward. Make sure rewards are healthy and meaningful.

Day 30: Sleep at Least 8 Hours Every Night

Sleep allows the brain to process information, consolidate memories and refresh itself. Sleep deficits can affect productivity in many ways, causing problems with concentration, decision making and organizing tasks. Aim for eight hours a night to boost brainpower and productivity.
So there you are - 30 tips to become more productive in 30 days.